Pattern Drafting: Custom Pajama Pants Mockup
- vafibrearts

- Oct 30, 2024
- 4 min read
Hello Friends and Welcome Back!
I started writing this post yesterday, but a few things came up in the afternoon and I didn't have time to finish it, but I'm still excited to share my mockup adventures so I'm posting a day late this week!
Last week, I got started on one of my goals from earlier in the year; drafting my own custom pants pattern!
I began by taking my measurements and following the drafting process laid out by Janet Logie in the Huron School of Fashion's All About Pants drafting guide from 1971. Read more about that by visiting the original post!
Since then, I've continued refining that original draft, bringing me closer to a completed pattern!
Drawing the Draft
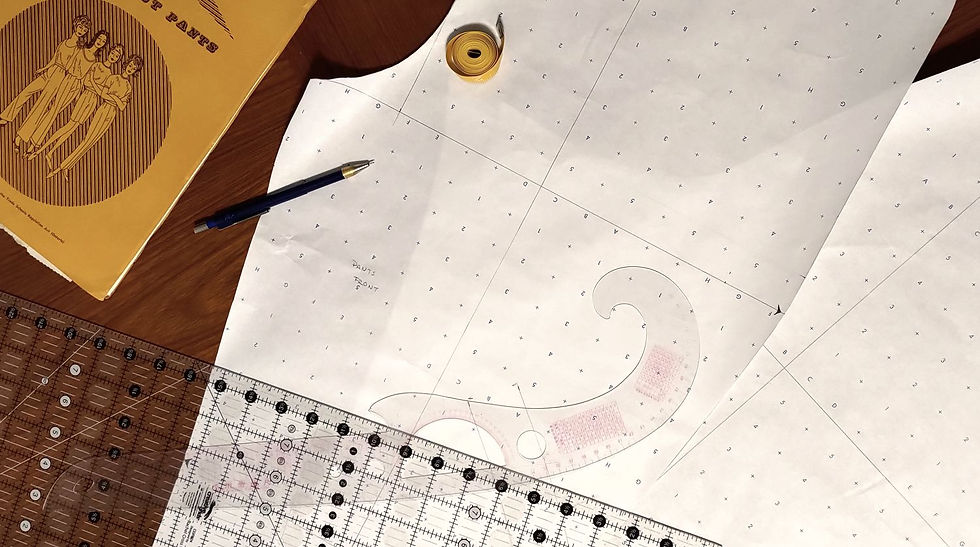
After taking my measurements and doing the calculations needed to create my digital mockups, I transferred everything onto paper.
I had initially planned to take 2" of width out of the front pants panel and add 2" of width into the back pants panel.

After a little more thought, I decided to add the 2" into the back without removing it from the front. The original drafting guide is meant for a trouser style pant, which is a little more fitted than the loose, elastic waistband pants I'm currently working on, so I might actually want that extra width.
With that in mind, my original pattern draft turned out something like this:

The First Mockup
Now that I've got a pattern, I can start making mockups!
Each of my mockups was made from cotton muslin, which I have several metres of, and cut with 1" of seam allowance, in case I needed a little extra space along any seams.
I cut out and assembled my first mockup, and after trying it on, could immediately tell that the back of the waistband was sitting much lower on my body than the front.
My initial thought was that I needed to increase the rise at centre back, but I gave the mockup a little more wear and thought, and realized that the rest of the waistband was actually sitting way too high, so much so that I would occasionally feel the elastic around the bottom of my rib cage!
The other issue is one that I usually encounter; there wasn't enough length along the crotch seam. The pants fit okay when standing, but I can feel the back of the pant leg pulling when I walk, and when I sit, the back of the leg pulls up while the waistband pulls down.
The Second Mockup
In my next mockup, I worked on both of the previous problems; to fix the unevenness of the waistband, brought the waistband down by 1.5" at the side seams and 3" at centre front. To fix the crotch seam length, I extended the crotch point on the back leg out by 1.5".

The orange lines are the shape of the original mockup, while the burgundy show the updated shape used for mockup number two.
And after putting this mockup together, I actually remembered to take some pictures!

When standing, this version of the pattern fit pretty well, which is already an improvement on the first mockup, but when sitting or moving around, I was still feeling the centre back of the waistband and the back of the pant legs pulling.
The Third Mockup
For the most recent mockup, I didn't change anything about the shape of the front piece, focusing instead on adding depth through the crotch on the back panel.

I did a little research before figuring this out, and decided to alter my piece following instructions from Jennifer Stern Hasemann.
Check out the video link for a more detailed explanation, but the basic process is to cut the pattern along the horizontal crotch guideline, then slide the top section over by a few inches, and finish off by smoothing the transition along the crotch and outer leg.

I estimated I would need about 2" more depth through the crotch, so that's how much I slid the top of my pants pattern.
After cutting the new back piece, this is how my third mockup turned out:

I reused the same front panel since it hadn't changed shape, but cut a new back panel. Because I'd been wearing the front for a bit already, the muslin had softened and relaxed, but the back was still freshly cut and a little stiff, so it looks somewhat dented in the photo, but it actually fit really well!
At this point, I'm really happy with the shape of the crotch curve, but after all those alterations, I feel like the width across the hip area is getting a little bulkier than I'd wanted, and I've been feeling this whole time that the knee level is sitting a little high on my leg.
These are fairly simple adjustments to make, so I'll be applying these changes to mockup number three rather than cutting a whole new piece, then transferring the changes to paper to create my final pattern!
I've been doing a pretty abysmal job sharing my progress on this project over on Instagram, but now that I'm so close, I'm hoping that will give me the incentive to be a little more open with my progress!
And, as always, if you have any tips or suggestions, please share those with me in the comments below or you can reach out privately via email. I'm always happy to learn more about this art form!
November starts next week, so I'll be sharing another instalment of Blackwork Roads, but I'll be posting the results of my patterning experiments the following week! Maybe I'll even have a finished pair of pajama pants by then?


Comments