
Renovation Report: 25.08.2026

Hello Friends and Welcome Back!
After several more weeks of renovations, I'm excited to share another update on the progress of the sewing studio!
As you may remember, we've been working on several rooms simultaneously—including two bedrooms and the living room—so my updates on the progress of the sewing studio have tended to come a little sporadically.
As such, it's now been nearly two months since my last update and I can't wait to show you what we've been up to in all that time!
Filling in the Walls
At the beginning of July, we had just finished putting up drywall!

The sewing studio was the third room to receive drywall, and was closely followed by our move to the basement and a lot of progress on the living room, which was the biggest room and had some of the most extensive changes.
So though there's been a lot of work going on around the house, the sewing studio sat mostly unchanged for about six weeks after that update.
But once that time had passed, we got back to work!
Adding Some Goop
After drywall, the next step is to fill all the seams, screw heads, and imperfections with mud!
This might sound pretty straightforward, but it's actually a very messy, multi step process that takes several days to complete. Here's a rough summary of the steps:
tape over large gaps and seams so the mud has something to hold onto
mix up drywall mud and apply it to any seams, screw heads, or imperfections in the wall
drip drywall mud all over the floor, which you will have to clean up later
leave overnight to dry completely
sand the dry mud with rough sandpaper to eliminate any texture
stare despondently at the ridiculous quantity of dust this produces
repeat infinitely until your walls are appropriately smooth
We've done our own mudding in the past and have not been very satisfied with the results. As easy as it sounds, this takes a lot of practice to do well!
Since we know our efforts would take twice as long to produce a lesser result, we decided to hire some drywallers to take care of this step for us!
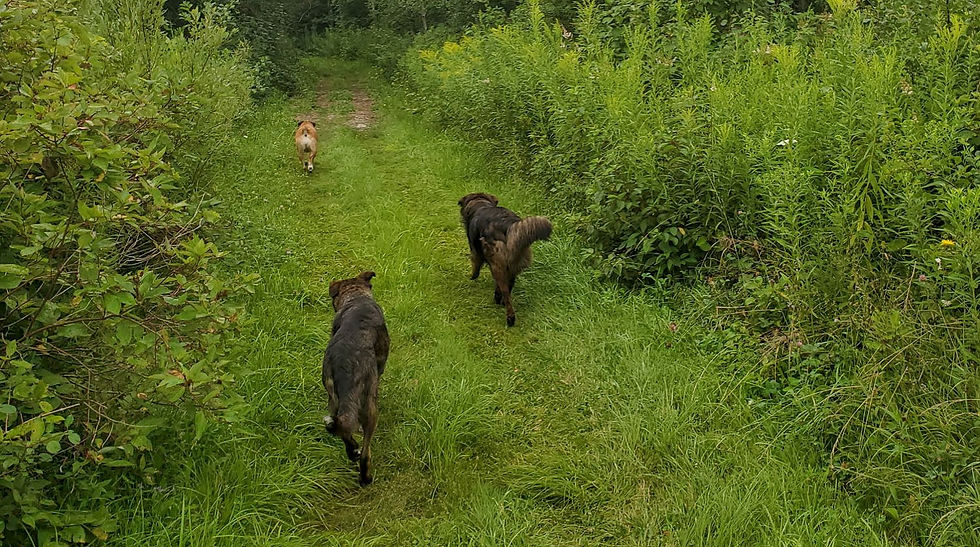
To keep the dog out of their way, Meara and I spent a few days with my parents. She had lots of fun visiting with Poppy and Bruno, and I got to do some sewing with Mom!
And when we returned, we found the walls had been smoothed out!
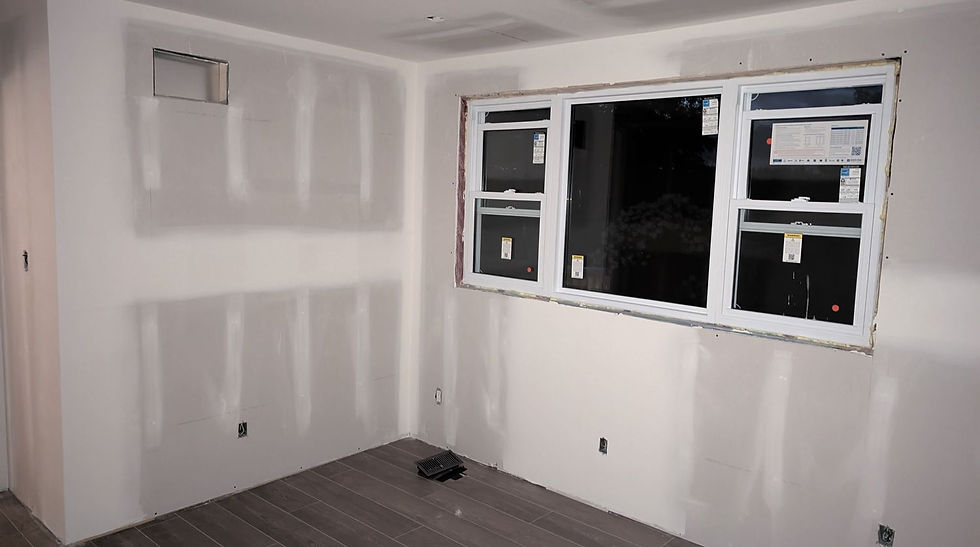
We are so happy with the work they did—in the sewing studio as well as all the other rooms we've been working on—and so appreciative of all the time and frustration they've saved us!
Prime Time
With the worst step of the renovation process out of the way, we've now moved on to priming!
Priming prepares the walls for painting by smoothing out the base colour from a combination of grey drywall and white mud, to a flat white wall. And since naked drywall sucks up a lot of paint very quickly, primer—which is thicker and cheaper than regular wall paint—acts as a barrier to prevent this!
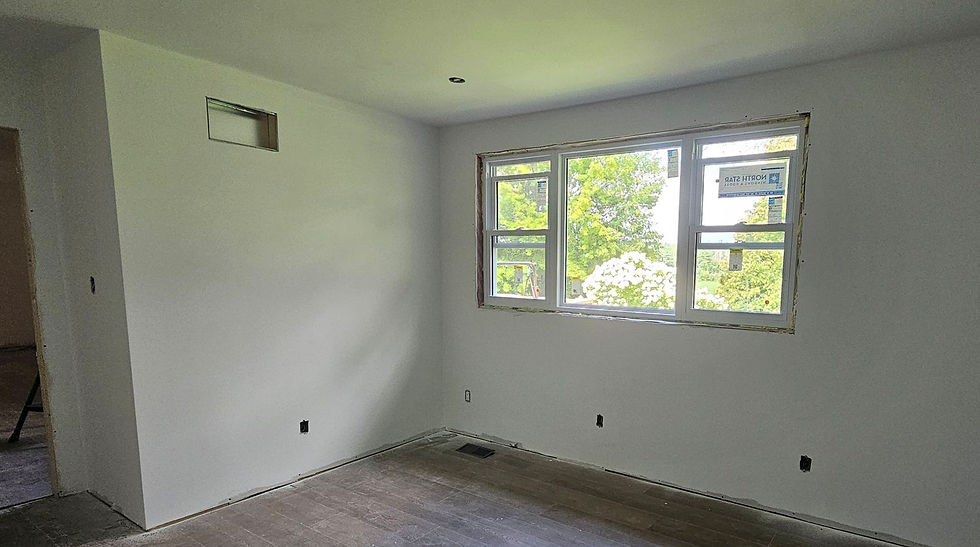
So far, we've completed one coat of primer, which came out pretty evenly!
We'll be adding one more coat to completely smooth out the underlying colour of the wall before adding paint. I can't wait to add some colour to the studio soon!
Friends, it's been so long since I've been able to share an update on the progress of our renovations with you all! Every update brings us another few steps closer to a completed sewing space, which I'm so excited to be able to use soon!
In the meantime, I would love to hear your thoughts on our renovation progress!
Let me know what colour you think we should paint the studio in the comments below, and feel free to share your own renovation stories by email or by sending me a message on Instagram!
I can't wait to hear your thoughts!


Comments