
Stitches in Stone: September Half Square Triangle Units

Hello Friends and Happy September!
With the Summer season drawing closer to its end and the beginning of a new school year approaching, September is now upon us!
I was fortunate enough to be able to visit with my Mom and Sister over the weekend, spending time at the beach by Lake Ontario and hiking in a few nearby Provincial Parks!
After spending a few days enjoying the outdoors, I'm looking forward to diving into the first set of piecing instructions for our Stitches in Stone quilts!
Let's take a look at this month's units!
September
We'll be getting started with a simple and very common quilt unit, the Half Square Triangle!
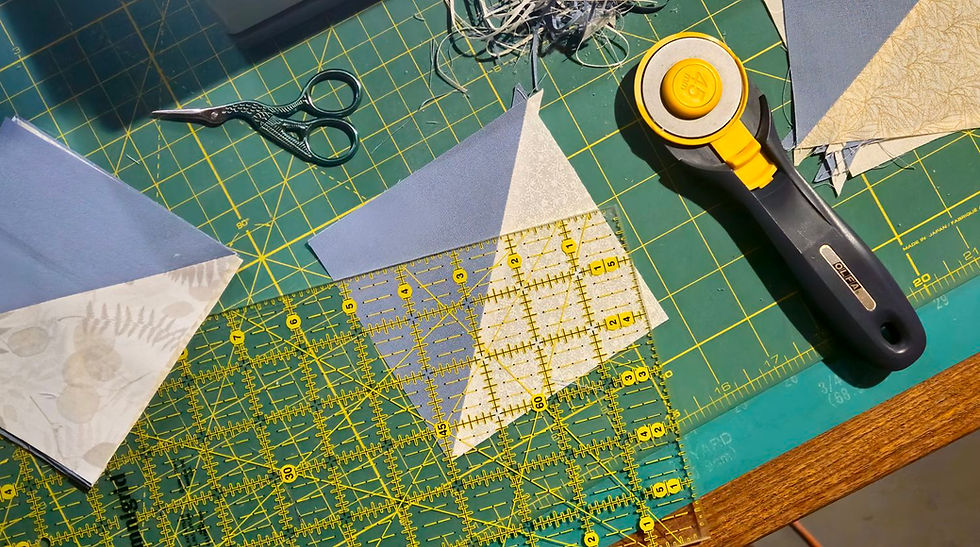
This pattern uses my preferred method for piecing Half Square Triangles, the two at a time method!
I like this method because it's quick and easy, allows you to get a nice mix of prints if using a scrappy colour scheme, and doesn't produce an excess of wasted fabric. And because the units are pieced from squares, there are no naked bias edges to contend with!
Now, let's get to piecing!
Pattern Notes
Read all instructions before piecing
Fabric requirements are based on a 44” usable width of fabric
All seams are sewn using a ¼” seam allowance unless otherwise specified
Each seam should be pressed before stitching the next, and completed units should be pressed before trimming
Pattern is rated for an advanced beginner or intermediate level quilt maker
Half Square Triangle Cutting Instructions
For a small quilt, cut the following:
Accent: 8 squares at 5"
Background C: 4 squares at 5"
Background D: 4 squares at 5"
For a large quilt, cut the following:
Accent: 48 squares at 5"
Background B: 8 squares at 5"
Background C: 16 squares at 5"
Background D: 24 squares at 5"
Half Square Triangle Piecing Instructions
Select one square each of accent and background fabric.
Mark a 45° diagonal line on the back of one of the squares.
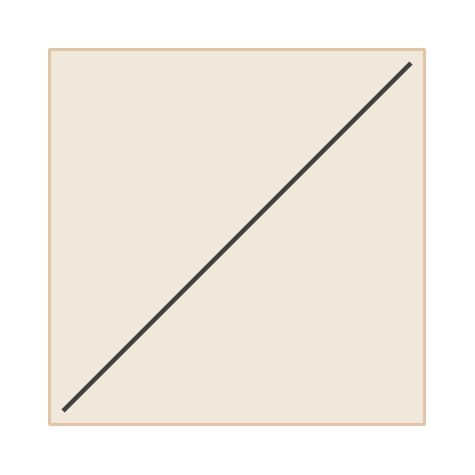
Tip: I like to use a pencil to draw my line on the back of whichever square is lighter in colour, that way I can easily see the marked line. If both squares are dark, white chalk will be easier to see.
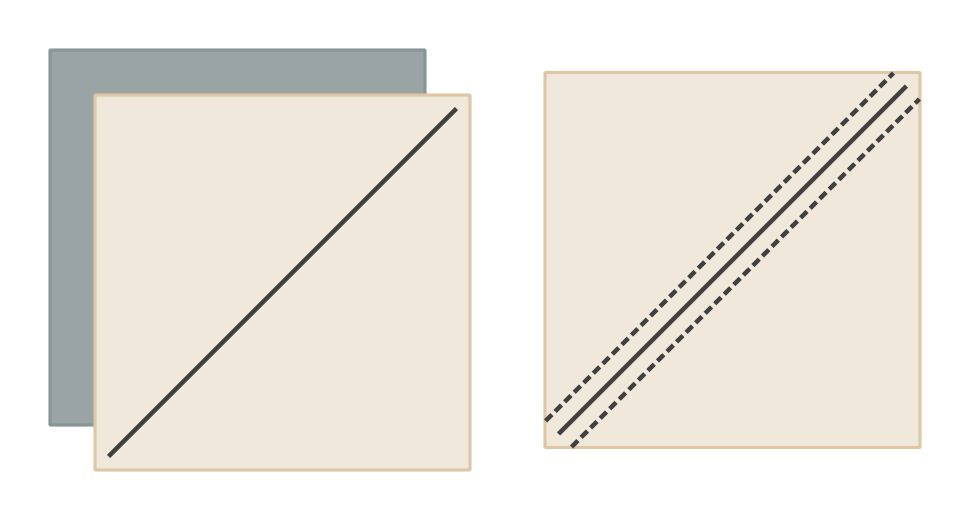
Place the two squares right sides together, with the marked line facing up.
Sew ¼” to either side of the line.
Cut along the line to separate into two half square triangle units.
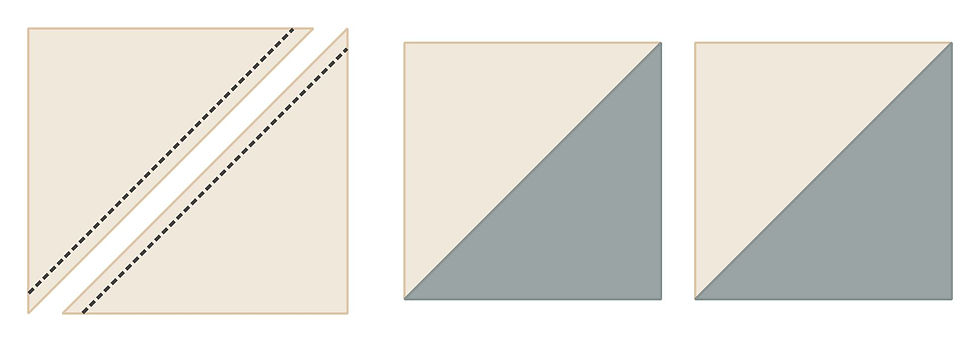
Trim to 4½" square.
For a small quilt, make 16 units:
Make 8 units using Accent and Background C
Make 8 units using Accent and Background D
For a large quilt, make 96 units:
Make 16 units using Accent and Background B
Make 32 units using Accent and Background C
Make 48 units using Accent and Background D
Tip: Once you've finished piecing your units, sort them by colour. Place matching units in a clear resealable plastic bag or use big stitches to baste them together into a pile. Be sure to label the sorted units so you'll remember what they are when it comes time to assemble the quilt top!
Full instructions for cutting and piecing your September Half Square Triangle Units can be downloaded here:
Stitches in Stone Sample Quilt
Since collecting all of my fabric last month, I've been pretty busy with renovations and haven't had much opportunity to work on stitching. But with the release of the September instructions, I knew I wanted to be able to share some progress on my Stitches in Stone quilt!
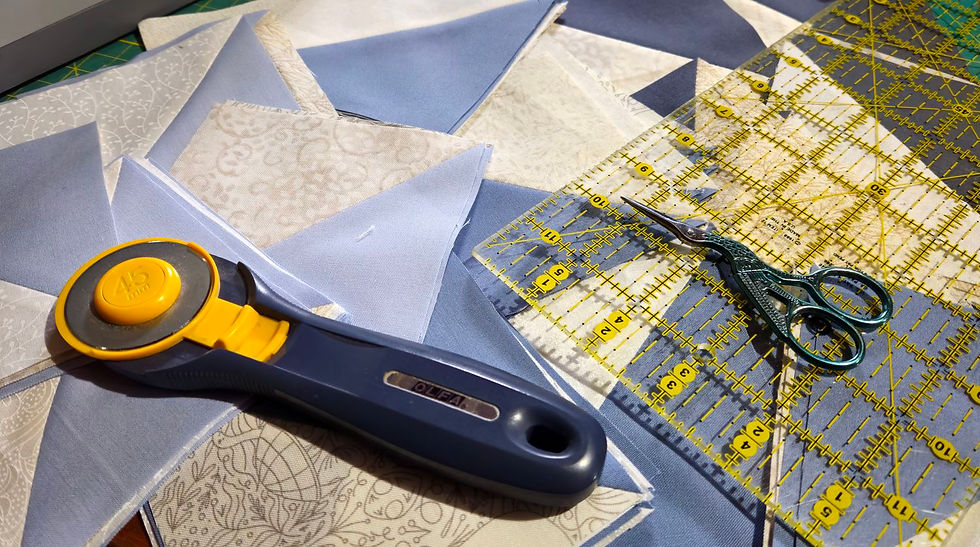
I don't know if I mentioned it last month, but I'll be making the large version of the pattern and timing myself to give you an estimate of how long each month's instructions will take to complete!
Because there are more pieces used in the large pattern than in the small one, I can divide my time down to guess how long the small quilt will take too!
With that in mind, let's take a look at my September Half Square Triangle Units!
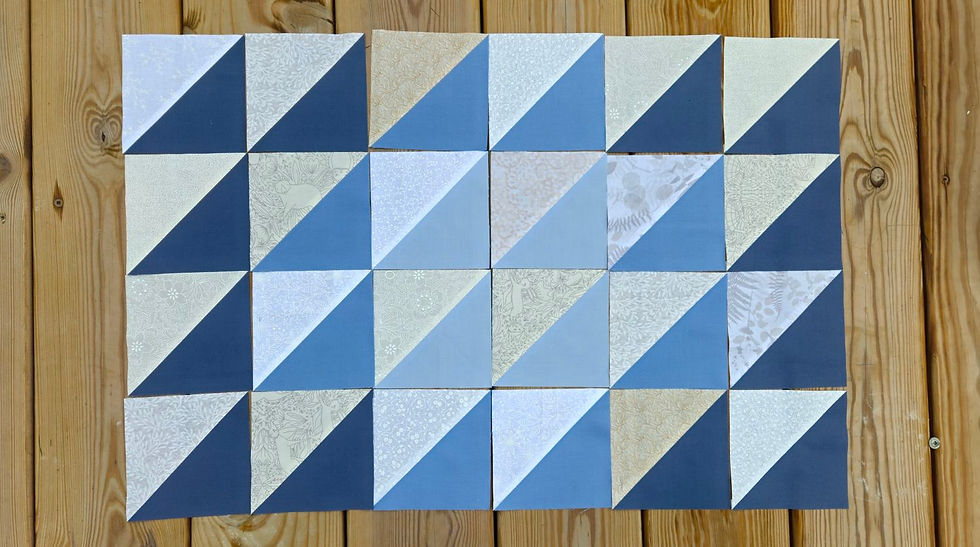
These units use the middle three background colours; in my case, those are light blue, medium blue, and medium grey, all in solid. Each of these is paired with accent fabric to make a high contrast unit!
I love how much variety my scrappy white prints add to the selection of half square triangle units!
And though they don't all match when laid out together, I think the contrast between the solid and printed fabric helps to unify the various white prints!
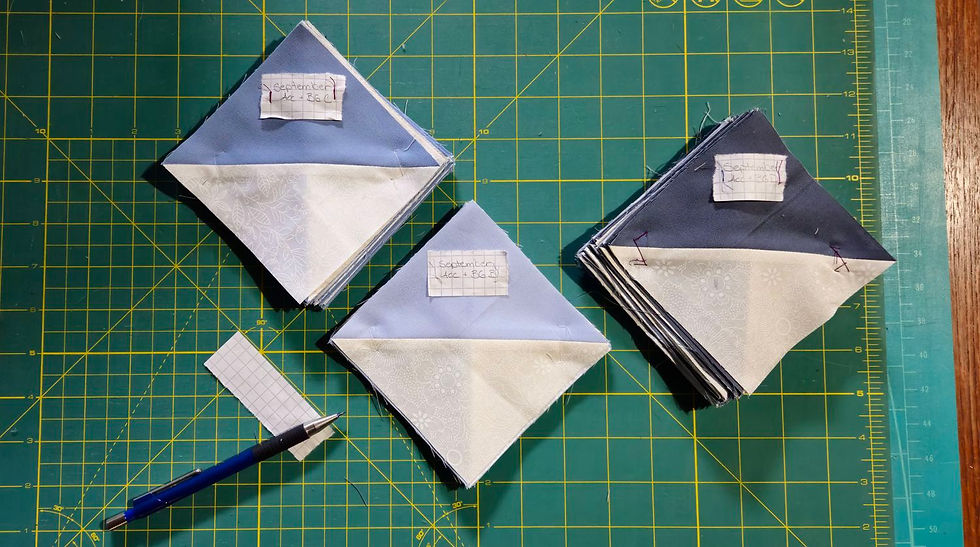
For the large quilt, it took me 1 hour and 6 minutes to press and cut my fabric, and 3 hours and 17 minutes to piece and trim my units. That's 4 hours and 23 minutes in total!
Dividing that down, I would estimate the small quilt will take about 10 minutes to cut fabric and 35 minutes to piece the units, for a total of 45 minutes!
Obviously, every quilter will do things a little bit differently, so our times might not be exactly the same. But if you find my estimates to be wildly inaccurate, please let me know!
Friends, I'm so glad you've chosen to join me in making the Stitches in Stone pattern this year!
Making quilts together with a group and sharing my progress with friends is one of my favourite parts of the creative process, and I'm so glad to be able to share this project with all of you!
As you piece your own Half Square Triangle units, I would love to hear about your progress! Please share photos, stories, and questions in the comments below, by sending me an email, or by visiting me on Instagram!
And if you're sharing progress photos elsewhere on social media, please tag them with #stitchesinstonequilt so I can find them!
Friends, I've had so much fun working on my first set of units with you this month, and I can't wait to share the next set on 06 October!
Until Next Time Friends, Happy Quilting!
~VA
Stitches in Stone Instructions
~ August ~


Comments